I've been a fan of the the Warhammer Terrorgheist model for a long time, but never had an opportunity to add the miniature to my collection until recently. During the holidays, I picked up a second-hand model in outstanding condition and last week, I finally had a chance to paint up the gruesome beast for my Sunday D&D game (Warhammer models are great miniatures to use for Dungeons & Dragons, and the Terrorgheist fits in perfectly for my homebrew "Black Solstice" campaign).
Like most weeks, I never seem to have enough time to hobby. With a full schedule and game day approaching, I needed to paint this bad boy up quickly. This is how I did it.
First Step: Basing The Terrorgheist
As I mentioned earlier, the Terrorgheist was in outstanding condition (this often isn't the case with second-hand models!). The previous owner did an admirable job building the model, removing mold lines, and even primed the beast. Whew! Not having to remove previous layers of paint or correcting build mistakes saved me a ton of time.
That said, I made a few adjustments:
- I built up the base to add some volume. The Terrorgheist sat in the middle of its flat, perfectly round 130mm base and just looked sort of... meh. By gluing a few rocks and small stones to the base and then adding some Vallejo pumice ground texture, I was able to add interest and a bit of realism to an otherwise uninspired space. Granted, the base looked really weird after adding the white pumice, but things improved with the next adjustment:
- I primed the Terrorgheist black. The previous owner had actually primed the model black and then white -- but here I was -- changing the model back to black. *cue some ACDC music*


Second Step: Drybrushing The Terrorgheist
The Terrorgheist is a huge, zombie bat monster and is part of the Flesh-Eater Courts army in the Warhammer universe. To help capture this putrid nastiness, I first drybrushed the model with yellow-green, followed up with a drybrush of bone color.


The drybrushing helped bring out the model's fantastic detail to such a degree that I could have honestly used it as-is on game day and my players would have been happy. Being pressed for time, I was tempted to call it finished, but with a few more steps I knew I could make it look much better.
Third Step: Airbrushing The Terrorgheist
To add some shadows and a tint of color, I used my airbrush. Seriously through, I could have simply used a large paintbrush at this stage, but the airbrush was faster.
- I airbrushed purple ink from underneath the model. I knew the purple would give interesting shadows and would contrast nicely with the sickly-green and bone drybrushing.
- I then airbrushed cold green ink followed with just a kiss of yellow ink on the wings. I blended the colors slightly to make a gradient and to add some visual interest.

Fourth Step: Painting Details On The Terrorgheist
The Terrorgheist model has a lot of cool details: big ol' teeth, rotted flesh, exposed muscle tissue, human skulls stuck to its massive body, etc. I broke out the paint brushes and got to work. Painting these details was the most fun I had with the project, and the Terrorgheist started to come to life at this stage (well, as much as a giant bat-zombie can come to life!).
- To save time and to keep to the creepy/undead aesthetic I was aiming for, I kept to a simple color palette: greens and bone with red as a pop-color.
- I painted with basic layering and highlighting technique, making sure to keep the recesses dark with the original shadow color.
- I used brown and sepia washes for the bones (to give 'em an ancient look) and painted pinkish glazes on the nose and rotted flesh for a touch of visual interest.


Fifth (And Final) Step: Finishing The Base
Just about done! The base looked sort of cool at this stage (still had some of the drybrush and airbrush colors), but it really needed to be finished to complete the model.
- I applied dark earth pigment powder followed with rust pigment powder to give the soil a more natural look (I made sure to get some of the pigment powder on the Terrorgheist's talons -- hey, I'm not going to tell him to wipe his feet!)
- I opened up a Tetley tea bag, and glued down some tea leaves for dried leaf scatter, followed with some Army Painter Summer Undergrowth tufts. The reds and browns and greens all play nicely together and compliment the Terrorgheist model colors well, adding a bit of contrast and making it look as if the monster is a part of its world.
- For fun, I used Dirty Down Snot to add some saliva to the Terrorgheist's gaping maw.
- Painted the rim black and finished!


Final Thoughts
I always have fun painting miniatures and the Terrorgheist was an engaging project. Yes, I needed to get the model painted quickly, but I didn't rush or force the experience. Having the Terrorgheist built beforehand gave me a huge head start, and by using the airbrush and sticking with a limited color palette, I was able to paint the Terrorgheist in about 3 hours. This is really fast for me -- I'm a notoriously slow painter.
Until next time fellow travelers! Happy adventuring :)

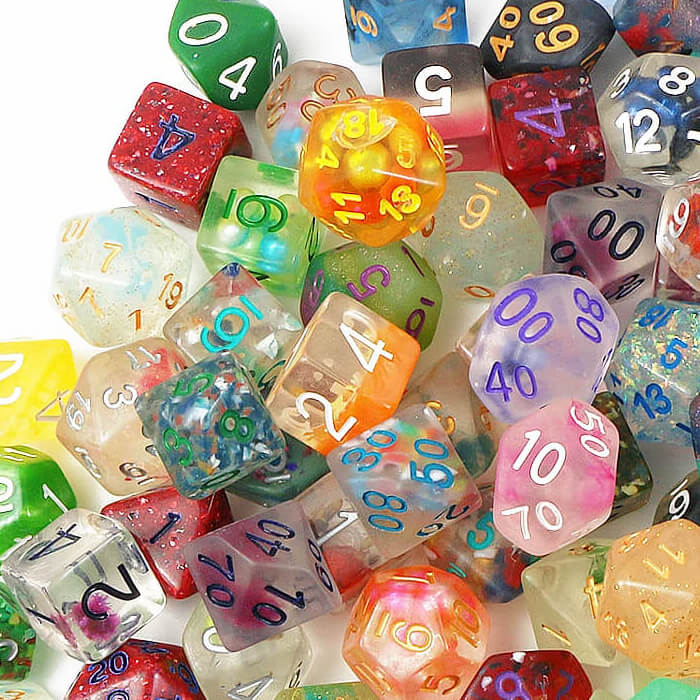
 https://darkelfdice.com/