Lately, I've been painting miniatures for my homebrew Dungeons and Dragons campaign, The Black Solstice -- an epic, inter-dimensional adventure that (for the moment) features a lot of undead monsters. Well, there's only so many skeletons and ghouls one can paint before boredom sets in. Don't get me wrong -- I love painting a good ol' zombie as much as the next guy, but I needed a palette cleanser this week to keep my sanity.
Behold, the Beholder!
I picked up this awesome "Lord of the Beholders" miniature from my good friends at MakeSmithy -- a husband and wife team from Meridian, Idaho (MakeSmithy is an authorized seller of Stormborn Collectibles -- the creators who designed the Beholder). I first met James and Shanelle at the Gem State Comic Con, and their 3-D prints are absolutely stellar. I've added a good number of their miniatures to my pile of potential, and I'll be collecting and painting more of their prints in the future.
First Step: Priming The Beholder
I usually prime my miniatures black, but for the Beholder I opted for something a little different:
- I primed the miniature with rattle can Alien Purple from The Army Painter -- a nice, rich purple with great coverage
- I then zenithal highlighted the mini with white ink.
I used an airbrush to apply the zenithal highlight, but I applied way too much ink and wasn't happy with the results. To bring back the purple (my intended shadow color) I brushed the Beholder with purple SpeedPaint, keeping the color away from the horns, teeth, and eyeballs.


Second Step: Drybrushing The Beholder
The "Lord of the Beholders" miniature has a lot of great texture, and the airbrush hid a good amount of it. To highlight the texture (and keep the purple shadows) I drybrushed the model off-white. Much better!

Third Step: Airbrushing The Beholder
To tint the Beholder's body and tentacles I airbrushed translucent ink, using four complimentary colors (Note: I could have used a paint brush for this step, but the airbrush is quicker and creates a nice gradient):
- Purple ink from underneath
- Blue from the sides
- Turquoise from the top
- Yellow from the undersides of the tentacles


Fourth Step: Painting The Beholder's Details
This is where the fun began! At this stage I painted the details on the model to bring the Beholder to life.
Beholder Horns
"The Lord of Beholders" miniature has A LOT of horns on top of its head, and this is where I started. To help build interest, I painted the horns with warm colors to contrast with the body's cool blue and purple tones. I worked my way up the horns (from base to tips), making sure to leave some of the previous color behind.
- Based the horns with a dark, warm brown.
- Washed the horns with Nuln Oil.
- Layered up the horns with layers of lighter browns finishing the tips with warm white.

Beholder Mouth And Teeth
After the horns, I focused on the tongue, gums, and teeth.
At first, I thought about painting the tongue a bright green, but I wasn't sure how it would read, so I took the safe route and went with pink and then reddish-pink for the gums. Satisfied with the results, I turned my attention to the teeth...
The Beholder miniature has an amazing set of choppers, but I faced a bit of a dilemma -- if I painted the teeth pearly white, they would look too similar to the horns. I thought about going dark black, but I decided to go with reddish-orange instead. I had never painted teeth this color before, but I knew the reddish-orange would compliment the blue body nicely. Like the horns, I worked my way up from the base of each tooth to the tip:
- Based the teeth with burnt red.
- Washed the teeth with Agrax Earthshade.
- Layered the teeth with burnt orange all the way up to brighter oranges and ice yellow at the tips.


Beholder Eyes
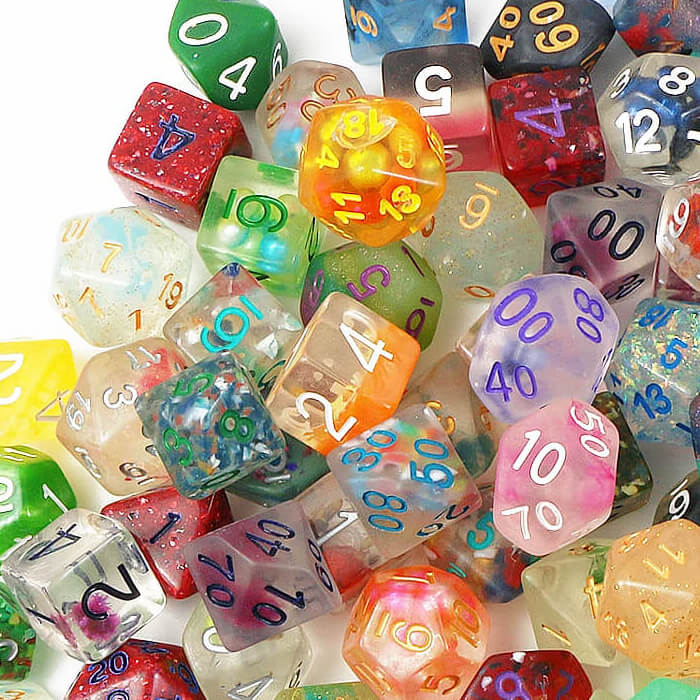
At this stage, I thought about painting each eye a different color (one green, one red, one pink, etc.). At first, the idea was exciting, but the more I thought about it I realized it would detract from the miniature's readability. I've always liked the pink eyes in the Eye Beast dice we sell, so in the end I tried to mimic these colors.


Fifth Step: Painting The Beholder's Base
"The Lord of the Beholder's" miniature was printed with an attached base. Many times, I'll remove or re-base a model, but not with this one -- this base is awesome and showcases the Beholder standing on a dungeon floor with (wait for it) skulls!
The obvious color choice for a cracked, flagstone floor is grey. That said, I thought the grey would be lost against the Beholder's blue body so I went with complimentary brown tones.
- To give the floor some depth, I used brown and sepia ink washes and earthy pigment powders.
- The skulls were a nice touch on the model, so to build interest I stayed away from bone/white colors and instead opted for purples, blues, and yellows.
- To finish the base off, I went with small clumps of my tried and true leaf scatter -- glued on tea leaves from a Tetley tea bag.

Final Thoughts
In the end, I was very happy with how the Beholder turned out. I feel the colors work well together and that the miniature reads well on the tabletop. The model was a nice change-of-pace, and allowed me to relax, be creative, and have fun. And isn't that what painting miniatures is all about?
Until next time friends and family! Happy adventuring and keep painting :)


 https://darkelfdice.com/